
I lost Bill the night before I taped this video.
He killed himself.
Bill was my pet largemouth bass.

He jumped out of his aquarium and dried up on the floor. I am still completely confused at to why he did this. Fred the Miracle Fish did this as well… at a later date… maybe we’ll get into this a bit more later on – but…
Back to the jon boat!
Here is an update on using sealed pop rivets. Like we mentioned in the last article + video, these are aluminum which is very important! We used these – along with marine grade silicone – to plug up the holes left in the aluminum after I removed the seats that were in the boat – leaving just the shell of the hull.

A few important points:
If you are using marine grade silicone (or any silicone) to apply and repair the holes in your boat, make sure you only squirt out what you need. When I was completing this step, the silicone I had out was drying up and getting gummy and hard to work with.
I actually had to remove one of the rivets because the silicone did not create a good, smooth seal.
So definitely something to be mindful of.


Also, like I mentioned in the previous video, make sure to use the smallest drill bit you can when you are removing old rivets.
I made a lot of extra work for myself by creating holes larger than they needed to be – don’t repeat my mistake!
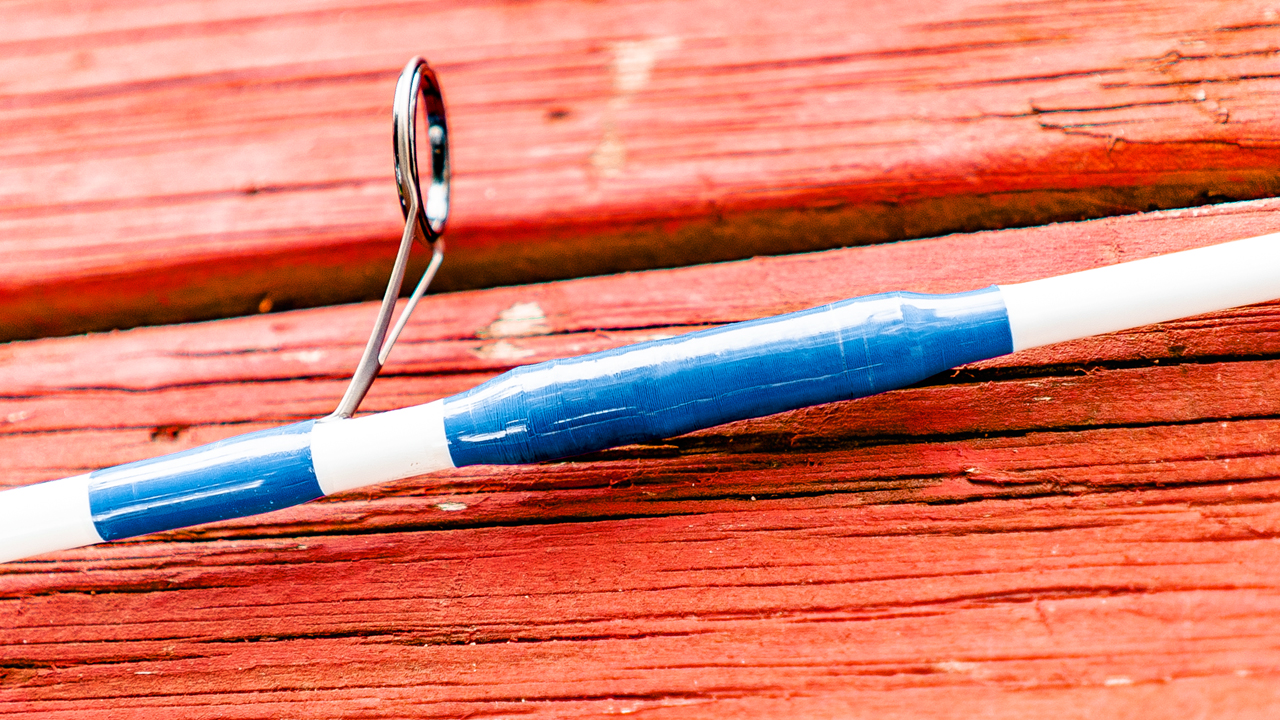
The way that I fixed this issue was by stacking washers. You can see in some spots in the video a little washer on top of a big washer held together with the silicone and the rivet. Not the best situation, but they have held up.
You can check out a more recent update on the boat here if you’d like.
So all in all, this step was successful. We have a few more things to do to the interior and then we need to take it out on the water just to test everything and make sure all of the holes and rivets are water tight!
Tight Lines & Godspeed, Patriots.
Get Articles & Videos First
Catch More Fish Than Your Friends. Laugh At Their Tears.


Thank You For Your Support
Your support directly funds the creation of weekly articles and videos that promote the development of better anglers and better men. Our country (and our kids) need both. Please share this site, and consider a monthly, weekly, or one-time donation. You are helping us make a difference!


What do you think?