
Good morning brothers.
I’ve been in the field a lot lately. Since this is my last full season in Illinois, one major goal is to catch over 400 bass – not dinks, mind you – but good fish. This works out to landing 70+ bass per month, every month, May through October.
“But how is this possible with a minimalist approach!? With limited gear?!”
It’s possible, because of the minimalist approach. With two jobs (one in website development, the other business consulting), prison ministry work, 4 boys and a wife – life is hectic. If Odin is with us, I might be able to fish for a few hours twice per week. Max. Had we not spent the last several years fine-tuning presentations, tactics, locations, gear, checklists and pre-trip processes, 400 decent bass this season in our waters would be out of the question.
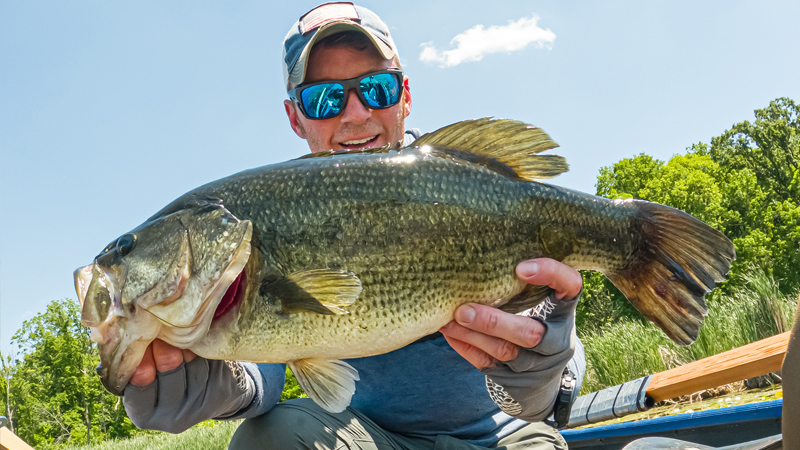
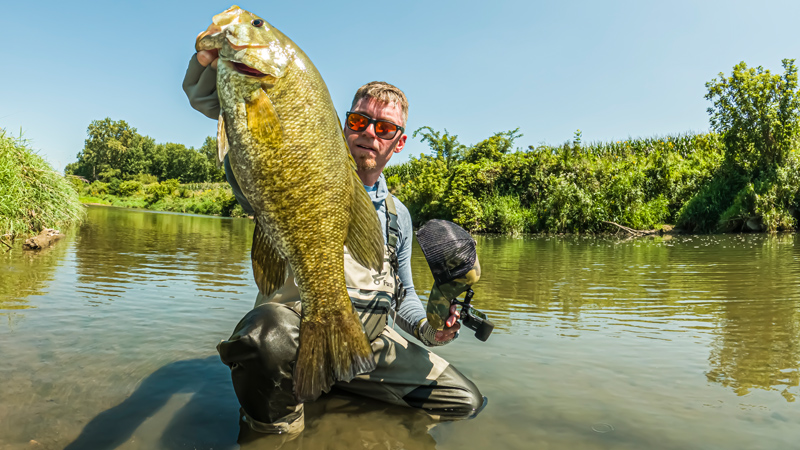
We’re off to an outstanding start. May will end with 93 in the bag – the biggest just under 4 pounds, second place well over 3, plus countless bass over 2 pounds have briefly boarded the kayak, the jon boat, or joined me on the bank.


The best presentations for Illinois bass fishing in May?
Here they are in reverse order, ranked by productivity (quantity).
- Rapala Scatter Rap
- Z-Man EZ Tube on a Pro Bullet
- Jerkbaits
- Megabass Pop-X
- Z-Man Slim SwimZ
- Strike Pro Humpback Wake Bait
- Yum Dingers (weedless wacky, weightless TX and Neko)
- Ochos (weedless wacky, weightless TX and Neko)
- Z-Man Hula Stick on an F4 Rig
“But wait… a Hula Stick on an F4 Rig? I thought that was for fishing flukes in heavy cover?”

Well… that’s why it was developed… but since its inception the true versatility of this finesse system has become increasingly apparent…
The F4 Rig Has Proven to be Surprisingly Versatile & Effective
In the past, I’ve utilized this rig in mucky water. That’s what it was designed for – fishing Illinois muck, but the other day I found myself in an extremely clear borrow pit (over 15 foot visibility, easy) with strikingly steep banks. Steep banks usually mean one thing: that slope continues underwater, and sure enough, you could see the lake bottom dropped to ten, twelve, maybe even twenty feet very close to the bank.
We’re talking about an underwater drop much steeper than the pitch on the roof of my house.
Steep!
The bottom was a mixture of mud and weeds… but not tall weeds. Some sort of bushy pond weed. It was stacked up no more than a few feet high, and you could see it matted all over the steep slopes with a clear transition to mud and rock about 15 or 20 feet below. Big sections had been removed between depths from 3 to 8 feet where the bass had made oval-shaped beds right on the steep walls – really an interesting situation.
I could see big, dark shadows moving around all along the lower transition, and several feet up into the overhangs, nooks & crannies of the mats as I quietly paddled about…
The bass were deep, and thick, all throughout this stuff.
So how do we get to them, in a kayak mind you, in a way that allows us to fish, not spend the morning picking these bushy weeds off of our hook after every cast?
Here’s how.
Try This Rig when Fishing Steep, Weedy Banks in Ultra-Clear Water
In clear water, you need light line on a spinning setup (8lb fluoro or less).
This means you also need a light wire hook.
A steep bank means you need to get down to the depth of the fish.
But bushy bottom is something you don’t want a weight to pull your hook into.
So place a weight about 3 feet higher up on the line, and use a floating bait to stay above the snags.
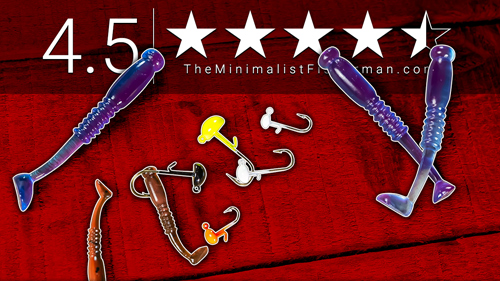
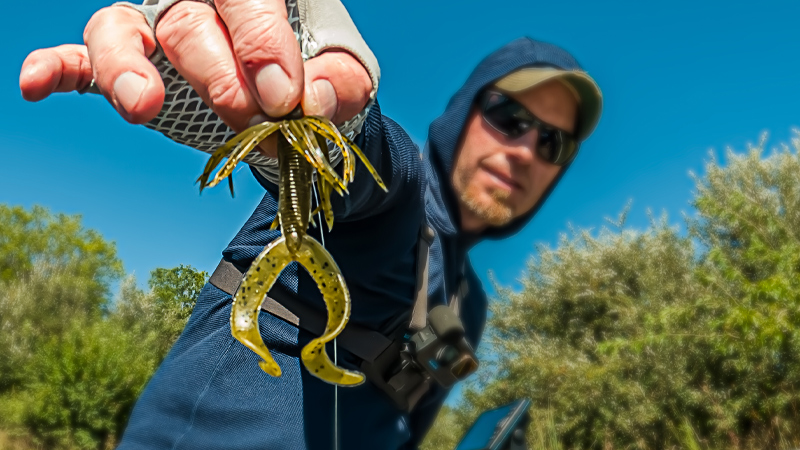
Take a floating worm or plastic, and rig it wacky with a light wire hook (weedguard is optional).
On your line, you’ll place bobber stop #1, followed by a 1/16 to 3/16 ounce bullet weight, followed by a bead, followed by yet another bobber stop. This will allow you to move – or pin – your weight in place. The bead will help you see where you’re at underwater, and if you leave some space, you can clack it against that bullet weight for a subtle attractant.
That weight will slowly sink, dipping below the height of the bushy weeds on the bottom, but that floating bait will stay up above – along with your hook – allowing you work down the steep banks with long pauses as these fish inspect your offering. If something it stuck, it’s the sinker, not the hook, and you can easily dislodge and focus on fishing – not weed removal.
Watch your line. When you get a strike, you’ll feel a slight tick tick and your fluoro will twitch just a bit.
Reel. Fast.
Reel until you feel weight, then lift your rod tip straight into the air. Do not snap the rod or you’ll pull the bait straight out of their mouth – especially because you’re using that little light wire hook (a necessity with such clear water) and because that weight placed a few feet away from your bait puts slack in the line.
When you feel a strike, you need to reel fast until you remove the bow caused by the weight sinking below the bait – but once you do, if you feel weight… you got ’em!
What Makes the F4 Rig Different than the California (or Mojo) Rig?
Great question.
As you can see below, the California Rig consists of a leader to a hook, with a bobber stop below a few beads and a bullet weight. The Mojo Rig is an updated version, utilizing a cylindrical weight and a single bobber stop with no bead for stealth.


Both of these rigs allow you to keep your weight away from the hook, but they do not allow you to pin your weight into place like the F4 (unless you use a Mojo sinker with an internal rubber stopper, which then loses the ability to move freely up and down the line).
The F4 sandwiches a bullet weight between two stops so you can pin it anywhere on your line. You can rig it like a lightweight Carolina Rig, or, push the weight down close like a Texas rig – you can even pin the weight in place without cramming a toothpick in it. You can silence the weight & bead anywhere on the line by pushing the bobber stops in tight, or, allow for noise by leaving space. Not to mention, you can tie the F4 Rig with a single Palomar knot.


No extra hardware. No special knots. Any kind of plastic. The ability to adjust your presentation on the fly without re-rigging… we’re talking Maximum Versatility.
I’ve also used the F4 in shallow creeks and had success:

Later this season I’ll publish the video of this modified rig in action – but I had to share it with you now. Make sure you tuck this option into your bag of tricks. It’s a minimalist approach that will put more fish in the boat.
I guarantee it.
Tight Lines & Godspeed, Patriots.
Get Articles & Videos First
Catch More Fish Than Your Friends. Laugh At Their Tears.


Thank You For Your Support
Your support directly funds the creation of weekly articles and videos that promote the development of better anglers and better men. Our country (and our kids) need both. Please share this site, and consider a monthly, weekly, or one-time donation. You are helping us make a difference!


What do you think?